Over the last two weeks I’ve been talking about how truly flexible the Accordance Bible Atlas is. Far from offering a series of static maps, the Atlas lets you create your own unique maps by combining various layers of information. I’ve also spent some time showing how you can customize these layers to eliminate label conflicts and get just the look you want. Today, I want to explain the concept of “extra sites” to you and show how you can use them to create even more customized maps.
If you’ve ever selected a place name in a Bible text and then clicked the Map button on the Resource palette to find that site, you’ve already seen an example of an “extra” site. The site name you searched for appears on the map even if it is not included in the currently displayed site layer. That’s why we call it an extra site.
You can add extra sites to a map by amplifying like this, by searching for them using the Find button of the Map window, or by shift-clicking a site name that you already see on the map. If you want to remove an extra site name, simply click to select it and press the delete key on your keyboard. If that site name does not appear in your current site layer, it will disappear completely. If it does appear in your current site layer, then it will appear as part of that layer and will no longer be highlighted in red.
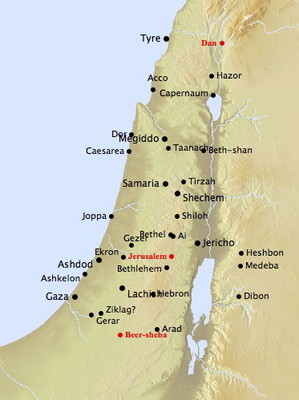
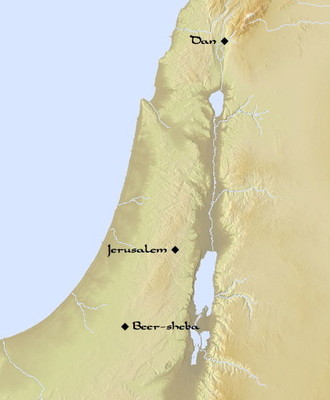
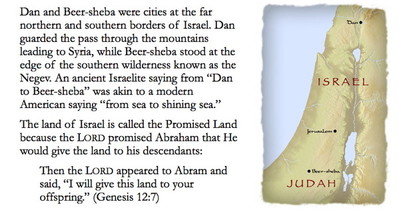
Now here’s where the shift-click trick described in the previous paragraph becomes really cool. Let’s say you have a site layer like Major Biblical Sites displayed, but you want to create a map which shows only a few specific site names. I did this for the current project I’m working on. In explaining the expression “from Dan to Beer-sheba,” I wanted to create a map which showed only the sites Dan, Beer-sheba, and Jerusalem (as a point of reference).
Starting with Major Biblical Sites, I shift-clicked the names of these three sites so that they would appear as extra site names. I then chose Convert to Custom Layer… from the Site Layer pop-up menu.
Standard Site Layers like Major Biblical Sites display sites which meet certain biblical and archaeological criteria. You can customize these layers by tweaking the criteria, as I showed in a previous post, but you can’t specify the exact sites you want to appear. A Custom Site Layer lets you create a list of the exact sites you want to appear on the map. We install a couple of pre-defined custom site layers such as Philistine Cities and Seven Churches so you can see how they work.
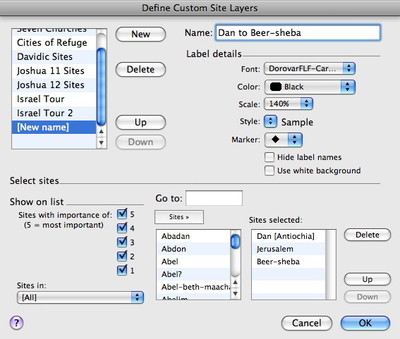
The Convert to Custom Layer… command simply gives you an easy way to build a Custom Site Layer from all the extra site names which are displayed on a map. When you choose it, the following dialog box will open listing all the extra sites you had:
All you need to do is give this Custom Site Layer a name and click OK. You can also customize the font, scale, color, and kind of marker used. You’ll then have a layer with just the sites you want.
From there it’s a simple matter to copy and paste your map into Pages and dress it up even further.
Understand how extra sites and Custom Site Layers work and you’ll be able to create custom maps quickly and easily.


